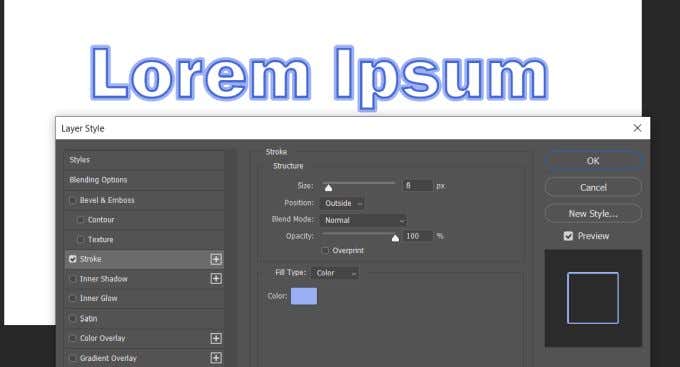
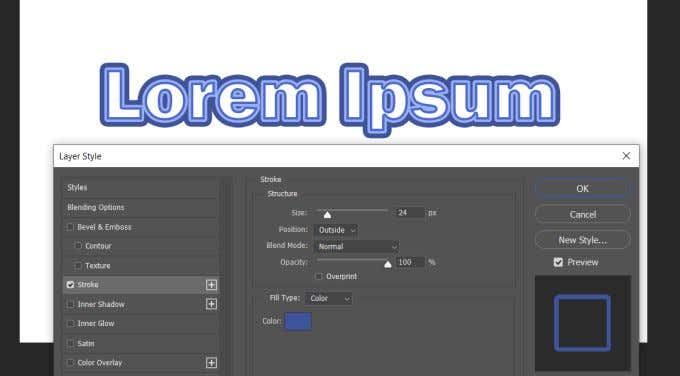
One interesting thing you can do is outline text in Photoshop. You may have seen this before on posters or fliers. And photoshop makes it easy to take any font you want to use and create an outlined version of it. Doing this task is incredibly easy, and can make your project look great even if you’re new at editing. Here are some ways to create outlined text in Photoshop.
How To Outline Text in Photoshop
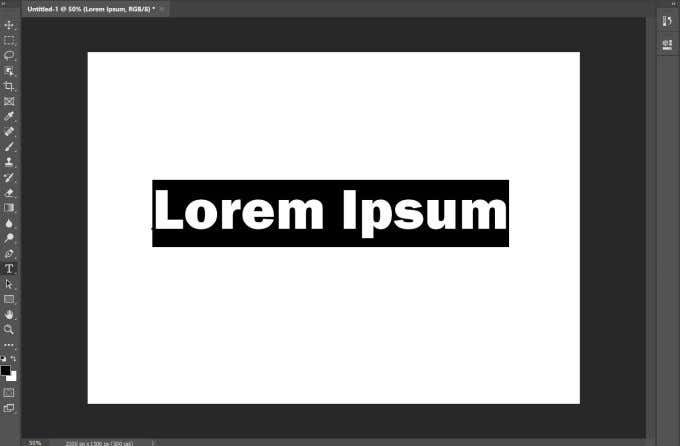
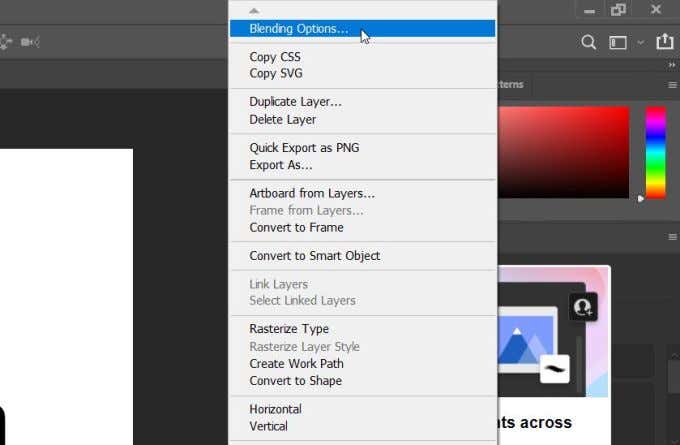
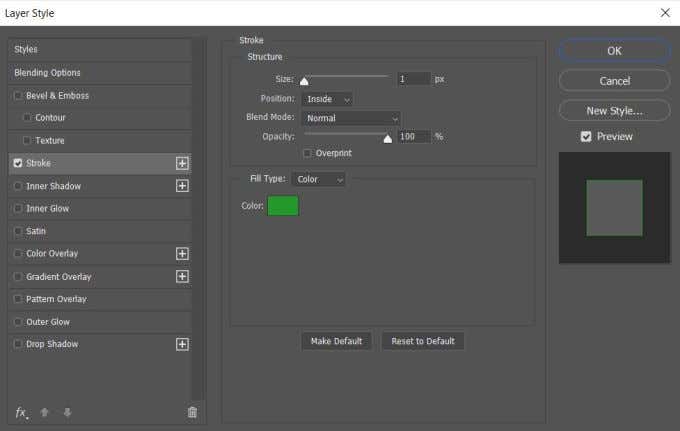
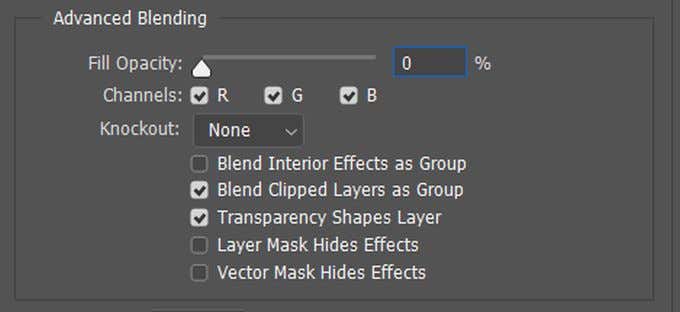
To begin creating a text outline, choose a font you want to use and type out your text. You should make sure that the background of your image will lend itself to a text outline. It’s best if the background is a solid color. If you have a more patterned or busy background, be sure to choose a color for your text that will be easily readable on it. If the text is hard to read, you can always adjust it afterwards with options like line thickness (more on this near the end). Once you have your text typed out, the next thing you’ll want to do is right-click on the text layer in the Layers panel. Then, select Blending Options. On the left-hand side of this window, you will see the Stroke option. Check this to have your text outlined by Photoshop. There are a lot of settings here you can change in order to make the outline on your text look the way you want it to. However, if you want to keep only the outline of the text and not the fill, you can also accomplish this. Go back to the Blending Options window, and under the Advanced Blending box, pull the Fill Opacity down to zero. You can also change the color of the text fill in this window if you wish to.
Customization Options
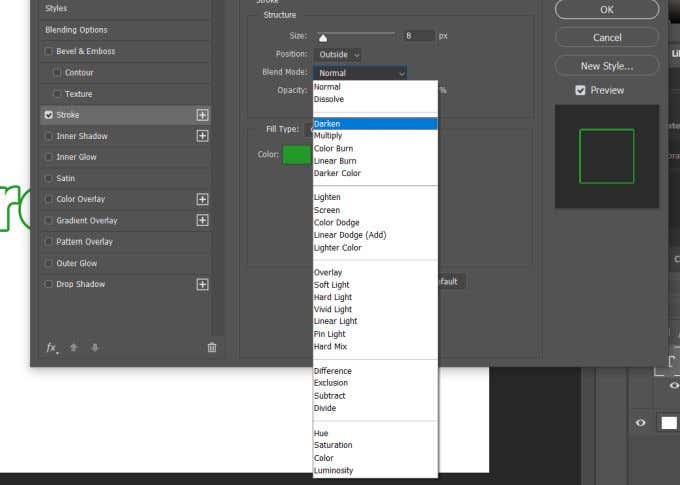
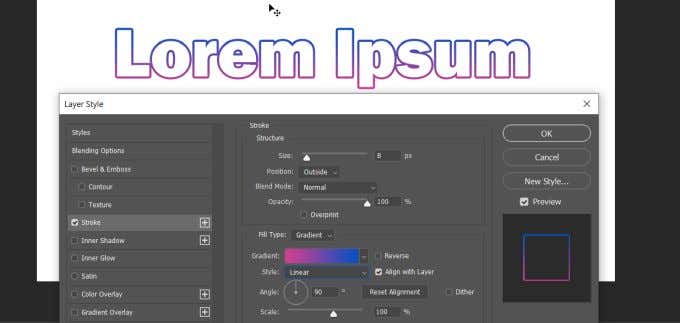
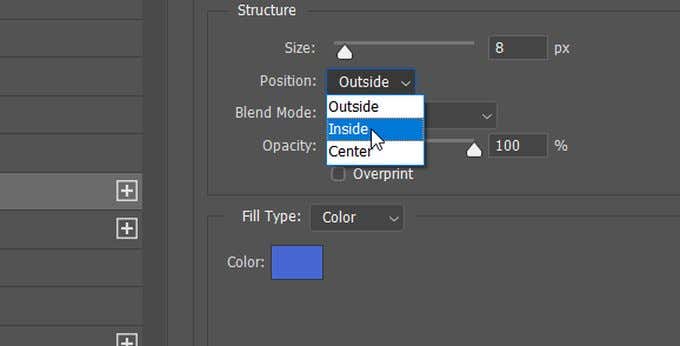
There are many ways you can make your text look unique. Under the Stroke window, you have a few different options you can play with. First, there is Size. You can move the slider to change the pixel size of the outline. This will make it thicker or thinner. With the Position options, you can choose how the outline is placed around your text. The Inside selection will place the stroke from inside your text. Outside will place it around your text. The Center option will begin the stroke from the middle and go both inside and outside of the text. Blend Mode will change how the stroke interacts with the background of your image. You can also change the Opacity if you want your outline to be more see-through and blend better with the background. Then there are the Fill Type options. You can choose from Color, Gradient, or Pattern. The color option will allow you to choose a solid color, while the gradient lets you choose two colors to blend together. With pattern, you can have the outline filled with a pattern of your choice.
Creating Multiple Outlines On Text
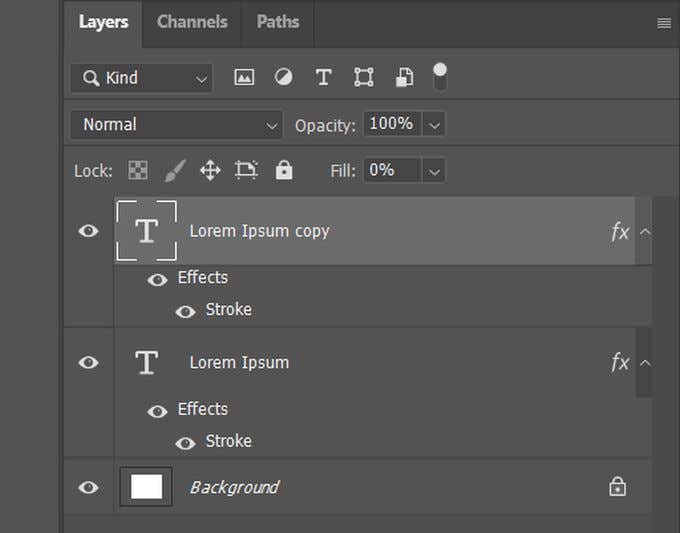
Another way you can make some unique outline text is to utilize multiple layers. By doing this, you can make a multiple outline effect. To do this, you’ll first want to type out your text and follow the steps above for making a single outline. Then, under the Stroke Position, choose Inside. Whether you want to keep the text fill or not is up to you. If you want it to be empty, change the Fill Opacity to zero. Next, you’ll want to duplicate the text layer. To do this, have the layer selected and then press Ctrl+J to copy it, or right-click and select Duplicate Layer. The new layer will appear above the one you duplicated. With this layer selected, right click it and select Blending Options to open the Layer Styles window. Go into the Stroke options, and change the Position for this layer to Outside. You’ll also want to change the color so you can see this new stroke. Another way you can do this, and so you can add as many strokes as you want, is to duplicate the layer once more, and again right click it and go to Blending Options > Stroke. Now, instead of using the Position you can use the Size slider to change the size of the outline until you can see it. Make sure you also change the color so you can see the multiple strokes. You can do this as many times as you wish to outline the text as much as you want. Make sure the duplicate layers are placed below the original layer to ensure they all show up properly.
Using Text Layers To Create More Effects
You may have realized the amount of potential there is in being able to use multiple text layers to outline text in Photoshop. If you want to change some letters but not all of them, you can do so by creating multiple layers so you can change only some of them, but the end product with all the layers merged will look tied together. For example, say you want to have some letters outlined and some letters filled. To do this, all you have to do is create a layer for your filled text, with the characters typed that you want filled. Then, duplicate this layer and make it into an outline. After this, you’ll want to rasterize the original, filled text. Do this by right-clicking the original layer and selecting Rasterize Type. Then, you can select and delete the parts of the filled text you don’t want. Then the outlined text will be visible. These are just some of the things you can do with Photoshop’s text features. Experiment with layers and strokes to create something entirely unique.

