However, since it’s free, your site will be hosted on the Google Sites website which starts with “https://sites.google.com”. But if you want people to easily remember how to get to your site, it’s better to point your domain to your Google Sites website.
How Custom Google Sites Domains Work
There are two ways you can have your own customized domain name that points to your Google Sites website.
Select a domain from Google Domains: If you purchased your own domain through Google Domains, you’ll see an option in the process below to choose that domain through the wizard.Use a domain from a third party: If you purchased your domain through another registrar like GoDaddy, you’ll need to choose the “third party” option in the wizard.
In this guide, you’ll learn how to step through the process to link your domain, regardless of where you registered it, to your Google Sites website. Note: You can’t link any domain that you don’t own to your Google Sites website. If you want to link a friend’s domain to your site, you’ll need to get permission from them and assist you with the steps to verify ownership.
How to Point Your Domain to Google Sites
If you’ve registered a domain and you’re ready to link it to your Google Sites website, follow the process below.
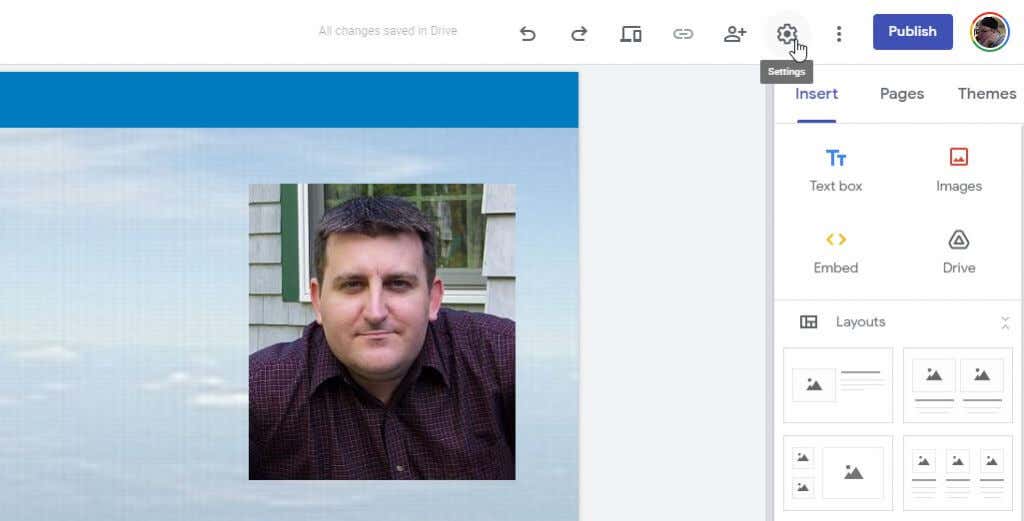
- Open your Google Sites website. Select the Settings gear in the upper right menu.
- In the Settings window, select Custom domains from the left menu. In the right pane, select Start setup to launch the custom domains setup wizard.
- The first step of the wizard is to choose whether you want to use Google Domains, or your own third party domain registrar. Choose the option that’s right for your situation. In this article we’ll show how to link with a third party domain registrar. To use this option, select Use a domain from a third party and select Next.
- Type your domain into the fields provided in the wizard. You will see a note that the domain hasn’t been verified yet. Select verify your ownership to get started with verifying that you’re the owner of the domain.
- A new web page will open with instructions from Google on how to edit your domain’s DNS (Domain Name System) records so that Google can confirm you’re the owner. Read these instructions carefully.
- In the case of GoDaddy, for example, you’ll need to go to the domain you’ve registered and select the DNS link to edit the domain’s DNS records.
- On the page of DNS entries for your domain, select ADD to create a new one.
- Enter the DNS record as described in the Google instructions. If the form asks for a host, type @. Enter the text defined in the instructions into the TXT Value field. You can leave the TTL field at default. Make sure the record type selected is TXT. Select Save when you’re done.
- Go back to the Verification Method page and select the red Verify button. If Google can detect the new DNS record you’ve created, you should see a confirmation message. Note: If Google still can’t verify that you own the domain, you may need to give it some time. DNS records sometimes take time to replicate over the internet, and this can take up to a few hours before the verification will work. Be patient!
- Return to your Google Sites page and cancel the previous domain setup. Then open Settings, select Custom domains from the left menu, and select Start setup again. This time, when you type your domain into the fields, you should see a checkmark appear. Select Next to continue.
- The next step in the wizard will show you CNAME record instructions.
- To do this, just repeat the process above with your domain registrar, but this time make the record the CNAME type. Set the host as www, and in the Points to field, type the URL Google provided in the instructions. Leave TTL at default and select Save when you’re done. Note: If the www CNAME record already exists, edit it and replace the Points to field with the URL Google provided in the instructions.
- Return to the wizard on Google Sites and select Done. You should see the domain show up in the list of Connected domains. Now your custom domain is linked to your Google Sites website. You should be able to open your browser, type your custom domain name and it will bring up your site. This link may not work immediately since the CNAME record will take a while to replicate. You may need to give this up to a few hours for the custom domain link to work.
Issues and Resolutions for Your Custom Domain
There are a number of other reasons your custom domain may not link properly to your site. Try the following fixes to get it working.
Give the CNAME entry you’ve made a day or two to take effect. If this doesn’t work, move on to the next fix.Double check the URL you entered in the wizard for your custom domain name and ensure that it actually matches your registered domain, without any typos. Make sure to include “www” in the URL.Make sure you haven’t already registered your domain with any other Google services like Blogger or the previous version of Google Sites (classic).If you’re trying to map more than 20 URLs, it won’t work. You are limited to mapping 20 custom domains to your Google Site page.
Now that you’ve pointed your domain to your Google Sites website, your visitors can visit your site using a typical customized URL just like any other regular website on the internet.


