This guide will help you repair Windows 11 problems using built-in tools. If you already know what caused your Windows 11 problem, you might be able to skip jumping through hoops and choose the best solution. However, even if you’re not sure about the reason, just step through this guide in order.
Start by Entering Safe Mode
Most fixes require you to boot into your operating system. If you can’t boot into Windows, you’ll need to boot into Safe Mode. If it’s your first time, we have a quick guide on starting Windows 11 in Safe Mode. Ideally, you should boot into Safe Mode with Networking to use tools like DISM.
Use Built-In Windows Troubleshooters
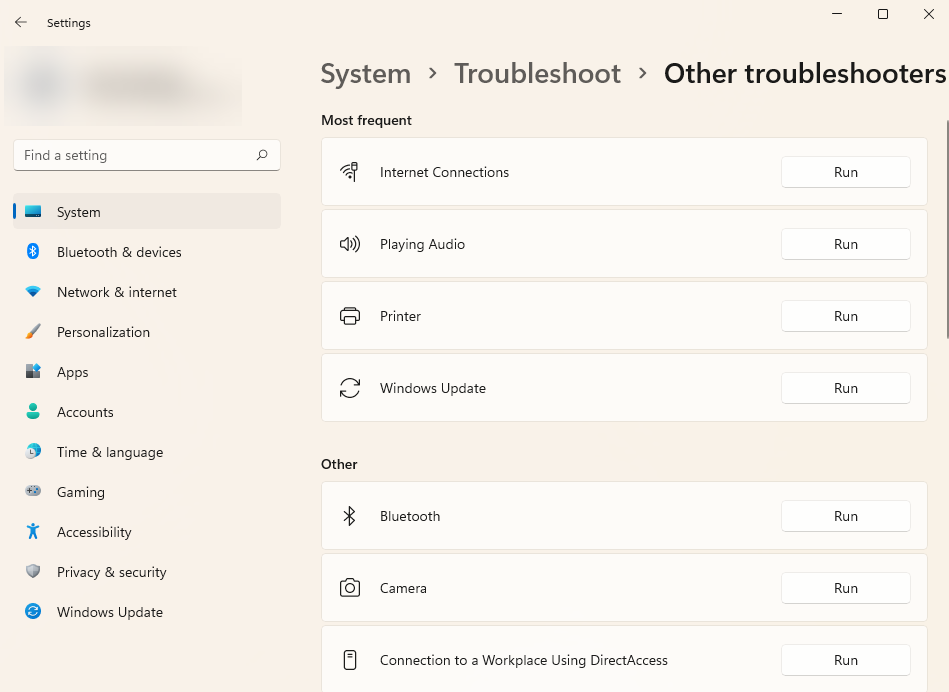
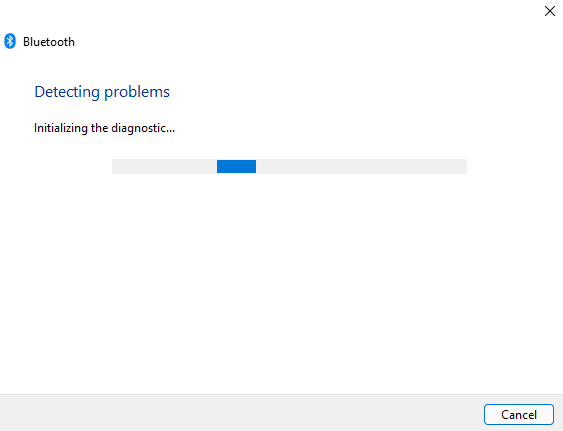
Newer versions of Windows come armed with a line-up of built-in troubleshooters for various problems. Troubleshooting that would have required using the Command Prompt in earlier versions of Windows can now be done with a user-friendly GUI. Troubleshooters are a great way to fix Windows 11 problems when you don’t know the cause. For instance, if your camera isn’t functioning correctly and you don’t know why, you can use the Camera troubleshooter to see if Windows can automatically identify and fix the problem. If the troubleshooter identifies the issue, it will try to fix the problem automatically. However, if it can’t identify the problem or is unable to fix a problem that it was able to identify, it will simply notify you, and you’ll need to try a different fix.
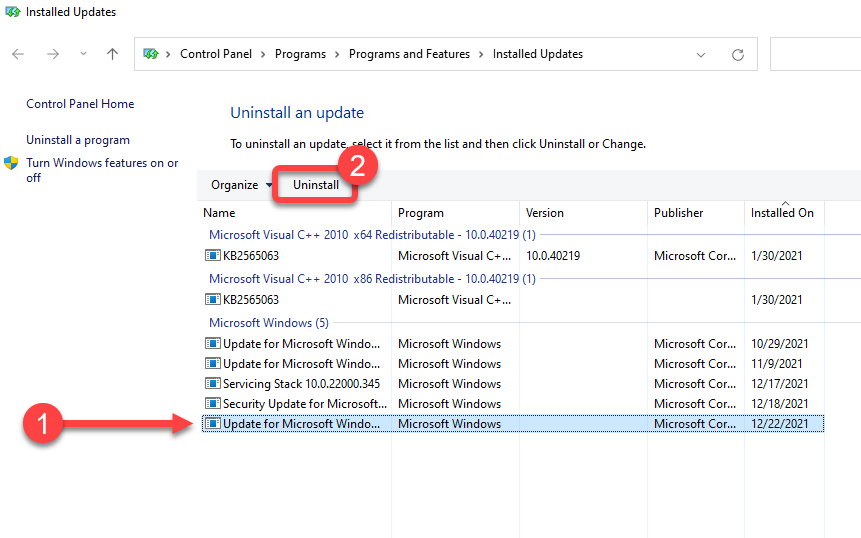
Uninstall Windows Update
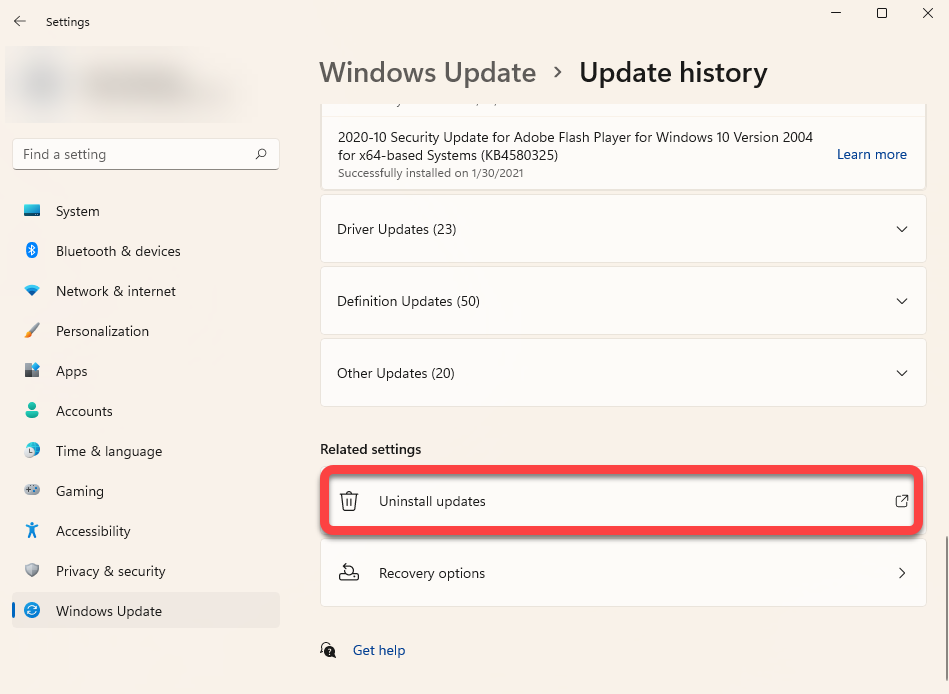
Windows frequently updates drivers and installs other security updates to keep your computer safe and up-to-date. However, updates can sometimes cause problems. If your Windows started glitching after a recent update, you can try uninstalling recently installed updates. If you don’t see the Uninstall option for a certain update, it’s because Windows deems it important for security or running Windows properly. When prompted, confirm the uninstallation. Once you’ve uninstalled all recently installed updates, try to reboot Windows and see if everything works as it should.
System File Checker (SFC) Scan
System File Checker (SFC) is a Windows utility that helps find and restore corrupted system files. System files are core files that Windows requires for operating correctly. If you’re experiencing unexpected errors with your Windows operating system, and can’t think of any particular reason that could have caused it, a missing or corrupted file could be the problem. sfc /scannow Once the scan completes, you’ll see a message in the Command Prompt window that will tell you if the scan found any file integrity violations. SFC will also fix those violations by restoring the relevant files automatically.
Check Disk (CHKDSK) Scan
Chkdsk is a built-in utility that checks and fixes file system errors by scanning the file system metadata. It looks for both logical and physical problems on your hard drive and tries to fix them automatically. chkdsk e: /f /r /x Let the scan finish. Once done, restart your PC to check if everything is back to normal.
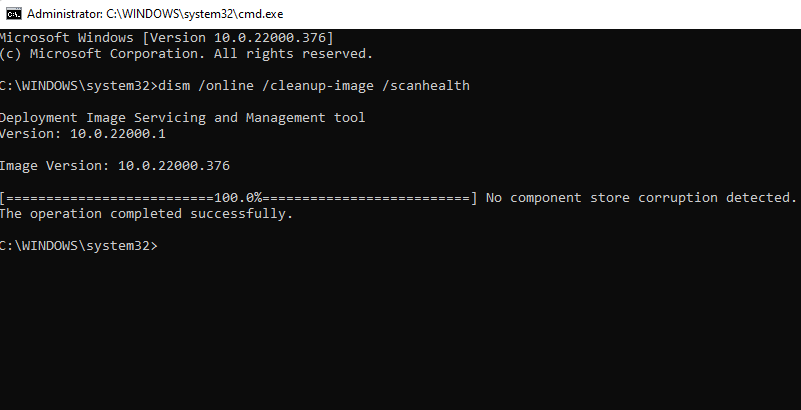
Deployment Image Servicing and Management (DISM) Scan
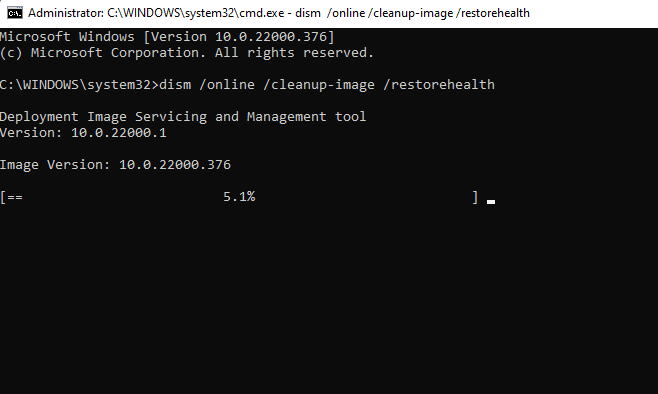
DISM is another built-in command-line utility that can help you repair Windows 11. It’s more powerful than the SFC and CHKDSK, and should be used only if you couldn’t fix your problem using the SFC or CHKDSK tools, or couldn’t run SFC at all. DISM helps you fix corrupted system components by downloading a Windows image from the internet and deploying it on your PC, without having to install Windows from scratch. If you use DISM in Safe Mode, make sure you’ve booted into Safe Mode with networking enabled and have a working internet connection. DISM needs internet access because it will pull files from Windows Update to fix errors. Dism /Online /Cleanup-Image /ScanHealth Dism /Online /Cleanup-Image /RestoreHealth The process can take a while. Let the process complete and then restart your PC to see if everything works as it should.
Use System Restore
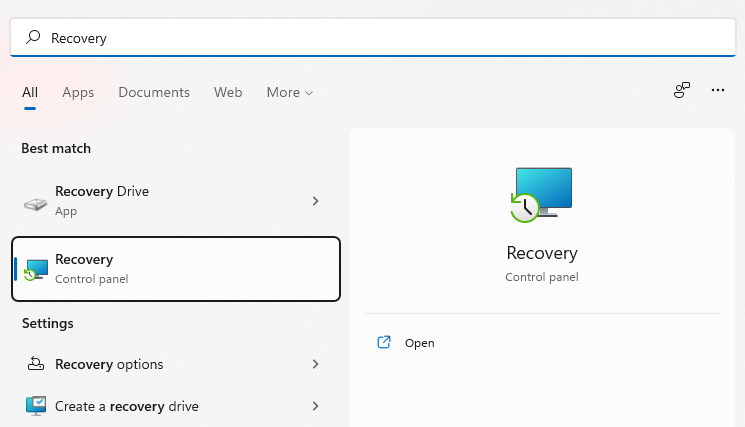
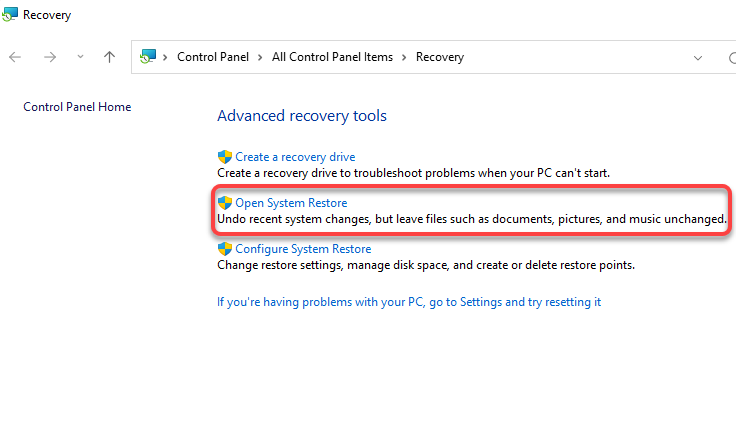
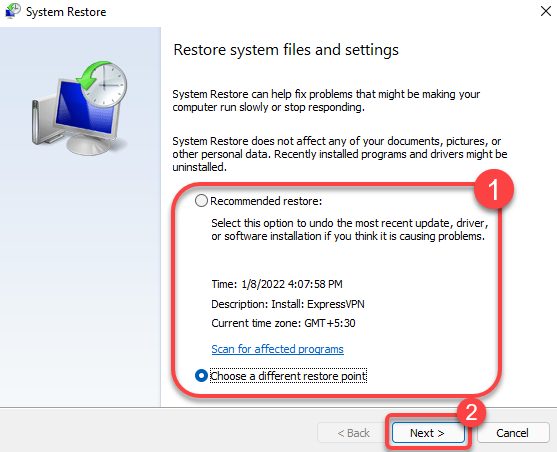
System Restore is a time travel machine for Windows. You can use System Restore to bring your PC back into a previous working state—a point in time when you created the restore point. However, you’ll first need to check if you have any restore points on your PC because Windows doesn’t create them by default. You’ll either need to create a restore point manually or enable System Restore if you want Windows to create one automatically every once in a while. Select the Recommended restore point or Choose a different restore point if you’d like to select a different restore point, and select Next. Note that any apps you installed after the date of creation of the restore point will be removed. Windows will restart at this point and begin restoring your PC. Once the process is complete, check if everything works fine.
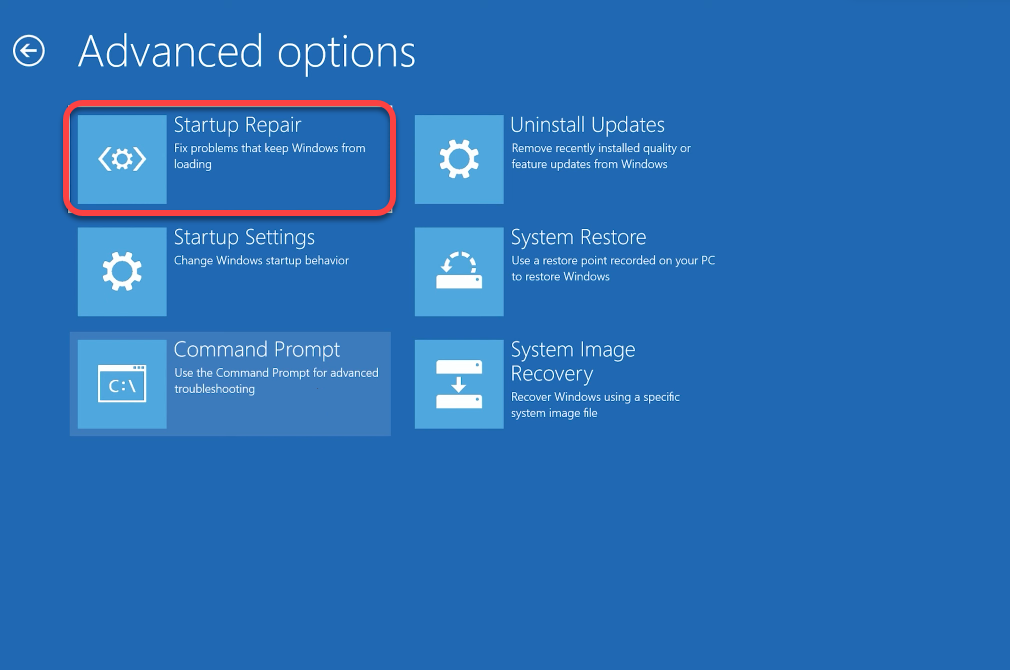
Windows 11 Startup Repair
If you couldn’t repair Windows 11 with the previous methods, try using Windows 11 startup repair. Startup repair specifically looks for startup problems only, so skip this method if your problem isn’t related to startup. If Windows finds a problem, it will try to fix the problem automatically. However, if Windows doesn’t identify a problem, or can’t fix a problem it has identified, you’ll see a message that reads Startup Repair couldn’t repair your PC. In that case, you’ll need to try a different method.
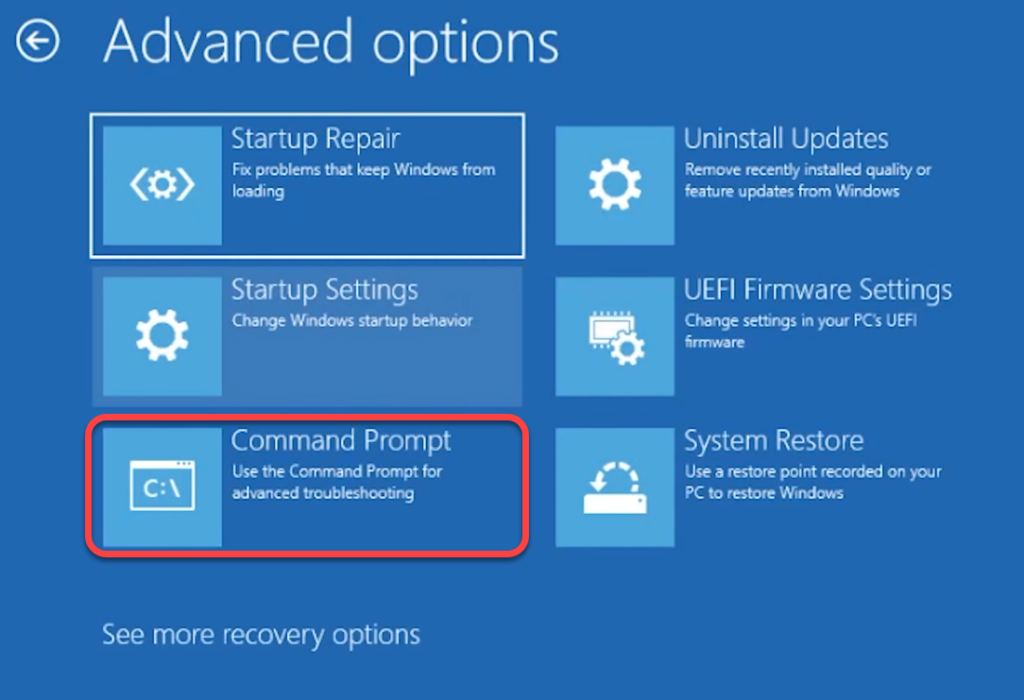
Fix Boot Loader with Bootrec
If your problem is that you cannot boot into Windows, you can use the Bootrec utility. Bootrec is a repair tool that fixes the master boot record and boot configuration data (BCD). If you can’t boot into Safe Mode either, hold-press the power button on your PC while the PC is on for a hard reboot. Do this twice, and the third time, you’ll automatically enter the Windows RE.
bootrec /fixmbrbootrec /fixbootbcdedit /export c:\bcdbackupattrib c:\boot\bcd -h -r -sren c:\boot\bcd bcd.oldbootrec /rebuildbcd
At this point, you’ll see a question that asks Add installation to boot list? Type Y and press Enter. Also, if you get an Access is denied error after the bootrec /fixboot command, execute this command and then execute bootrec /fixboot again: bootsect /nt60 sys Once done, exit the Command Prompt and restart your PC.
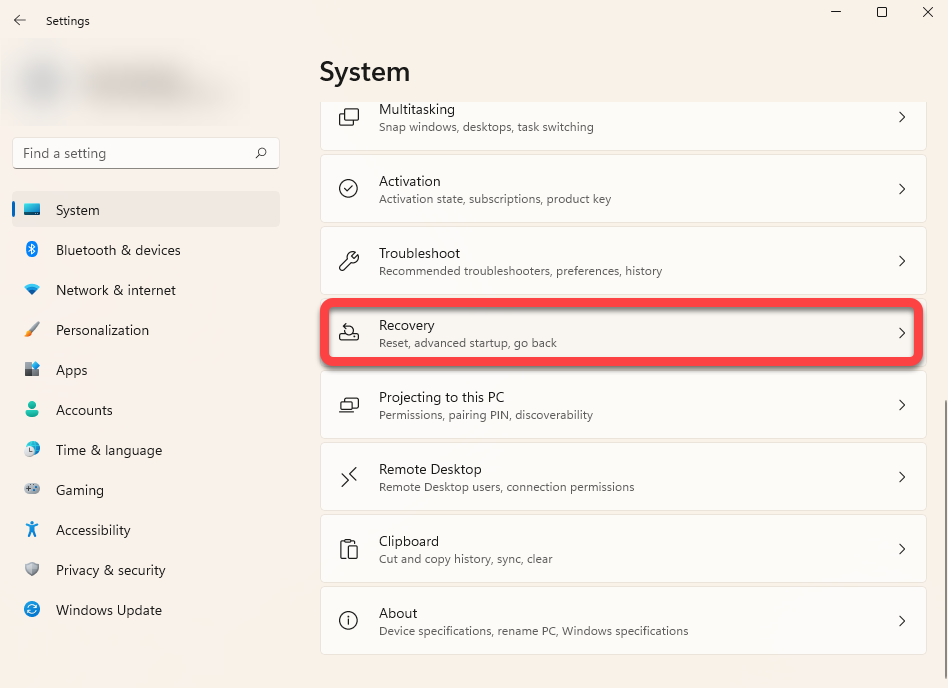
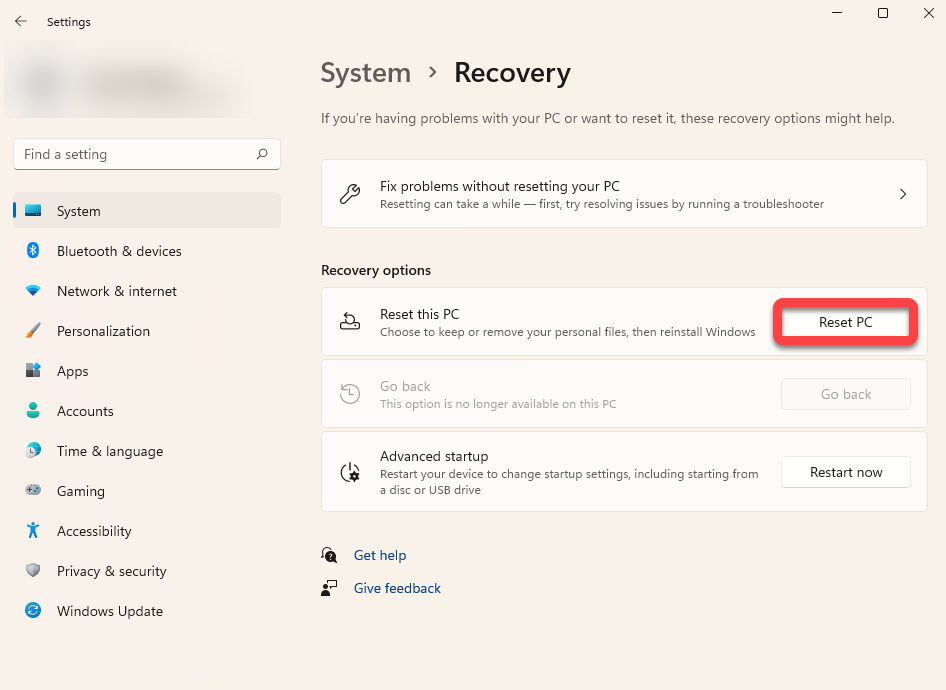
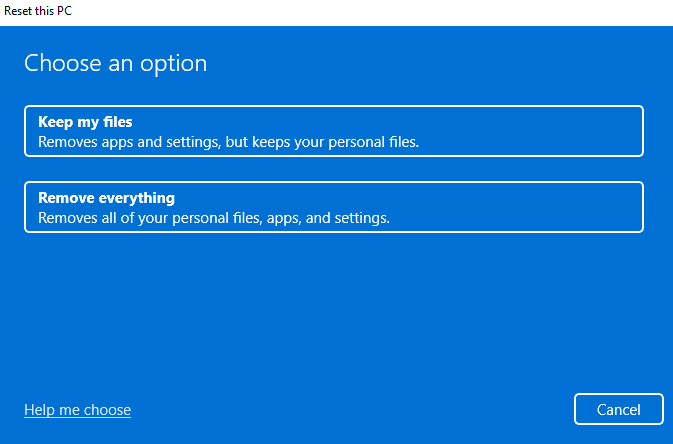
Reset Windows 11
Reset your PC only after you’ve tried the previous methods because you’ll need to reinstall all programs on your PC after the reset. You will have the option to preserve personal files, though. If none of the other fixes worked or if you want your Windows 11 good as new, you should consider a reset. Follow the prompts and let the reset process complete. In most cases, resetting Windows 11 should fix all your software-related problems. If it doesn’t, it’s likely a hardware problem that might require a technician’s help.
Reinstall Windows 11
A clean install of Windows 11 will take care of pretty much any problem you’re facing unless it’s a hardware issue. However, you’ll lose all installed programs. You’ll also lose your files stored on the drive on which you’re installing Windows, if the setup requires you to format it. Unlike resetting, a clean install requires you to use a bootable USB or the Windows media creation tool. You can download Windows (as an ISO file) or the media creation tool (as an EXE file) and create a bootable USB drive. Once you’ve created a bootable USB, install the new copy of Windows 11 on your PC.
Windows 11 Problems Fixed
You should be able to resolve most non-hardware issues specific to your Windows 11 operating system with the methods discussed above. However, if you’re not too excited about the idea of troubleshooting and fixing problems yourself, you should try free third-party tools for repairing Windows 11.