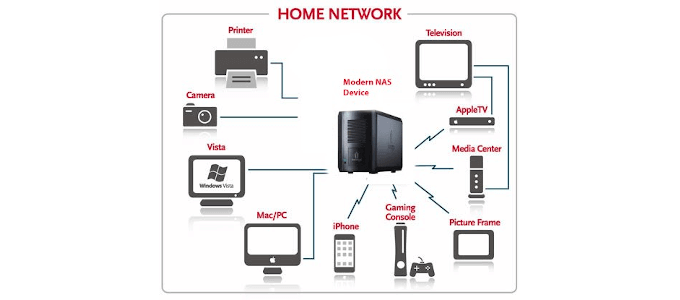
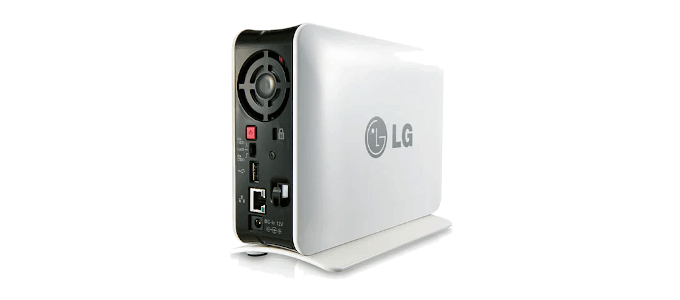
The easiest way to get our hands on such a device is to go out and purchase one that’s pre-built. However, easiest doesn’t always mean best. A NAS-enabled router will allow us to attach an external hard drive via USB for additional storage. Then again, we could go with the DIY option using Raspberry Pi or a repurposed computer. Regardless of how we get our hands on one, we’re going to need to know how to set up a NAS.
How To Set Up a NAS (Network Attached Storage)
We’re going to need a few things to get the most out of a NAS device. First, we’ll require a primary media player, such as a personal computer, to attach the NAS to our network. Next, the NAS itself, purchased pre-built or otherwise. Finally, some additional data storage devices, namely hard drives, to store media files. It’s also best to have a high speed ethernet connection. 1GB is recommended for prime performance. The personal computer can be an HTPC, or Home Theater PC, which can be purchased outright or built by you. Building our own will be more cost-effective and provide the most flexibility in what we want to accomplish with it. This is a computer that allows for recording, transcoding files, and scraping metadata. We could also add Plex or Kodi software to stream media files from various rooms of our home with devices that are connected to the network. If you like to pre-record TV to watch at a later time, this will come in handy. The reason for additional storage is to ensure we’ll have all files backed up. The hard drives you choose to use are your own personal preference. Just make sure they’re large enough to store all important data. We’ll also want to make sure that the NAS we choose, or build, has a RAID1 option. This way all data is mirrored between hard drives making it so that if one fails, the other will still hold all data.
Mapping Your Files
Mapping files depends on the chosen NAS. A NAS router will usually come with its own speeds, features, and capabilities in terms of mapping and backing up files. Synology is one of the better known names when it comes to NAS devices. However, they’re usually expensive and some models can be confusing for beginners. For this tutorial, we’re going to assume you’ve decided to use an old Windows 10 computer instead of a pre-built NAS. This will make it easier for anyone familiar with the internal workings of a PC and the Windows 10 operating system. We’ll also assume that you’ve already installed and formatted your additional hard drives. Mapping files to the NAS is the same as mapping a network drive. Generally speaking, Windows should already see the NAS device underneath the Network area of File Explorer. There are however, occasions where it may not show up. It’s usually because of outdated firmware which will require that the SMBv1 client be enabled within your Windows Features.
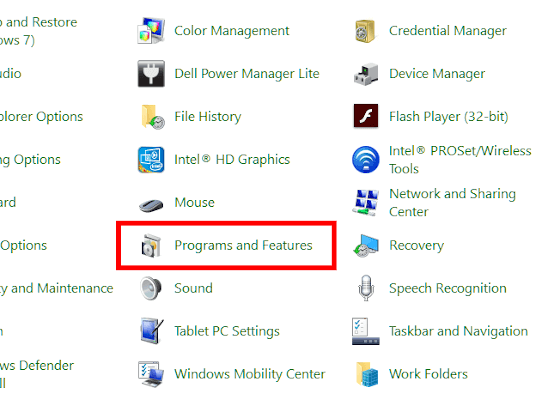
Open Control Panel.Click on Programs and Features.
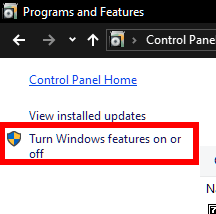
Select Turn Windows Features on or off.
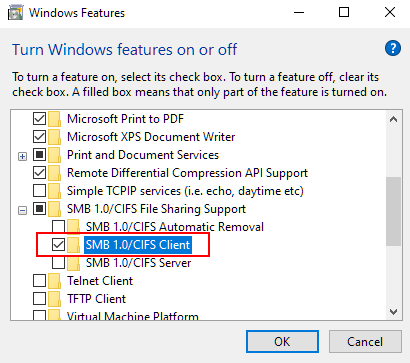
Scroll to SMB 1.0/CIFS Client and check the box.
It’s possible the + next to SMB 1.0/CIFS File Sharing Support may need to be clicked to see the appropriate folder.
This should be all that is needed to ensure that the NAS device shows up.
Structure
Folder names based on type is the safer way to go. Something like Media for all media purposes is usually enough if you have limited amounts of data. For larger amounts, we could separate media files into folders labeled Music, Photos, and Videos. A Documents folder is also a great folder label for storing Word Docs, PDF files, and other forms of working documents. A Backups folder should also be created for obvious reasons. Folders within folders should be broken down as flat as possible, meaning keeping it simple. Videos don’t need to be broken down into genres – they can be if preferred but it bogs things down unnecessarily. Any other reasons for folders should be kept to a minimum and labeled specifically so as not to cause confusion.
Setting User Rights
All that is really required in this instance is to set a username and password for access to the NAS. This can be done by right-clicking the NAS under Network, selecting Properties > Sharing > Advanced Sharing > Permissions. From here we can choose standard permissions for everyone accessing the NAS or invoke specific permissions on an account by account basis. The same process can be done for each folder located on the NAS as well.
Media Device Access
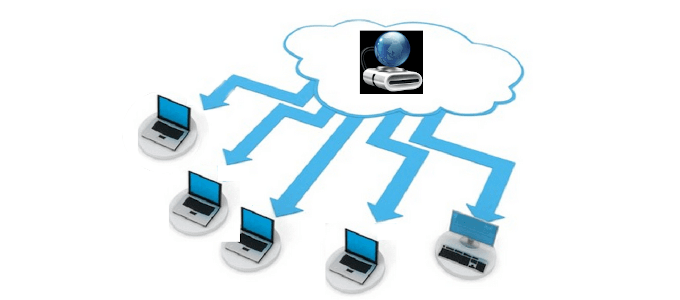
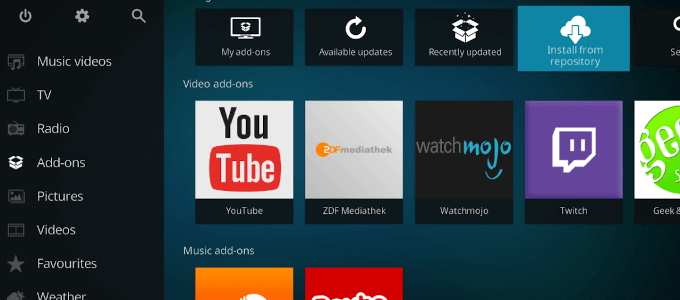
Now we can configure the NAS with any media center software you prefer. We’ve decided on Kodi for our steps. Our NAS is now set up for both media streaming and storage. So long as our other devices can connect to the primary media hub, they will have access to the data found on the NAS.
