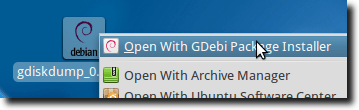
The program, called gdiskdump, is simple to use, and while using it won’t be nearly as quick for someone comfortable to the Terminal, it is definitely a simpler way to access some of the power ‘dd’ has to offer. To download gdiskdump, you’ll need to go to either its Gtk-apps.org entry, or to its Launchpad page, where you can download a Debian/Ubuntu installer or the source code. In this example, we’ll be installing gdiskdump in Ubuntu. Once you’ve downloaded the installer, you can simply right-click it and choose your prefered method of installation. For DEB files, we’re use GDebi.
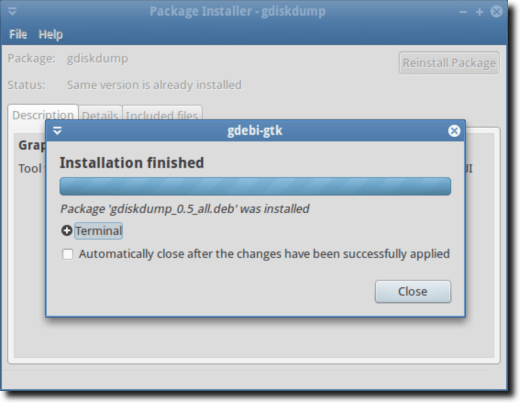
Once open, click to Install. You’ll likely need to enter your password. Any required libraries will automatically be downloaded and installed, and when you’re finished, you’ll see this confirmation.
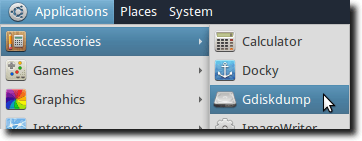
You can now open gdiskdump, which should be found in your Applications menu, under Accessories.
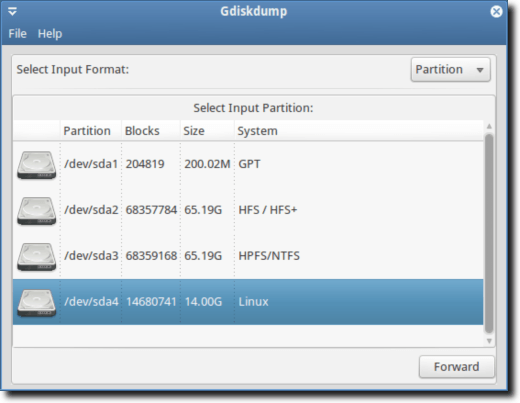
You’ll likely need to enter your password (unless you’ve recently finished entering it for another reason), as the ‘dd’ command always needs to be run as root. Once this is finished, you’ll see the first gdiskdump screen, which asks you to choose the input format. You can choose either a partition, hard drive or a file as your input format. Choosing a file will be just that, while a partition will be the full partition of a hard drive and the hard drive option includes everyting (all partitions).
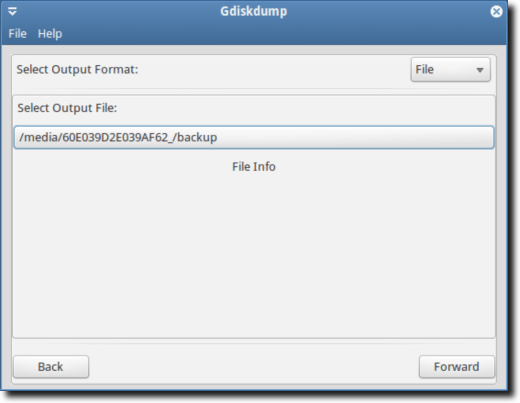
Once you’ve selected your input format and device/file, hit the forward button to move to the next screen, where you will choose your output format.
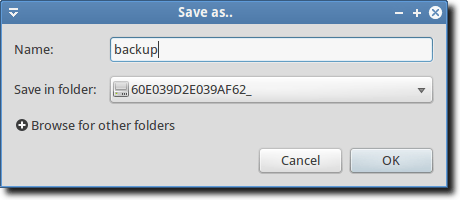
Once again, you have the choice of outputting to a file, partition or hard drive. You’ll need to first select the type, and then the physical location where your backup will be saved.
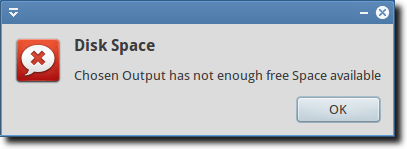
You may see a warning, informing you that your target directory does not have enough space to hold your backup.
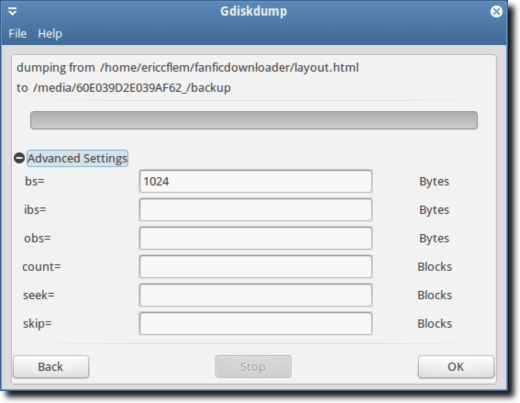
Assuming you’ve selected a drive with enough space, you can click the OK button to begin the process. Or, if you want a bit more control (similar to what you’d get using ‘dd’ from the command line), you can choose to view the Advanced Settings.
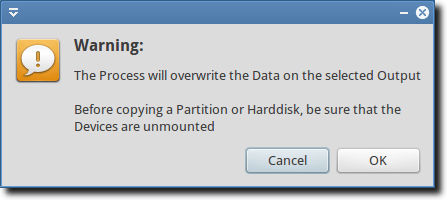
Again, when you’re ready, hit the OK button; the following warning will always appear.
This warning first tells you that your backup will overwrite the partition or hard drive you’ve selected as your target location, and that while copying a partition or hard drive (but not a single file), the divice should not be mounted. What this means in practice is that you can’t back up your boot drive. To do so, you’d need to run ‘dd’ or gdiskdump from a flash drive. Depending on how large your file, partition or hard drive is, the process can take some time, and while there’s no pop-up informing you the job is done, the progress bar at the top of the screen will show you when the backup is complete. And that’s pretty much to it. Using ‘dd’ from the Terminal is fast and powerful, but for those wanting something a bit more user friendly, gdiskdump is a nice choice.